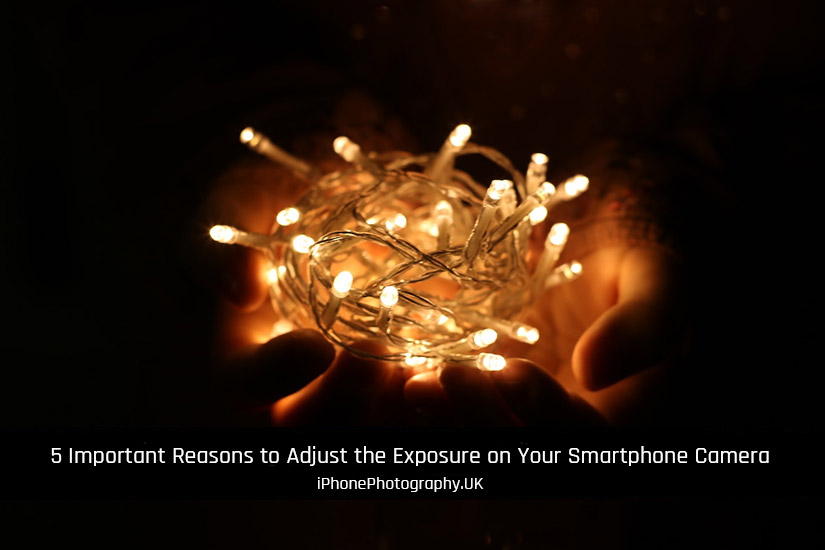
Why do I need to adjust the exposure manually?
At first, it might seem like an unnecessary adjustment to make. After all, computational photography is one of the biggest reasons for using a smartphone for your photography, right?
It doesn’t matter whether you use an iPhone, or an Android phone. All smartphones do a great job of assessing the image and choosing a balanced exposure.
So, why is knowing how to adjust the exposure, a good tool to have? Well, adjusting the exposure on your smartphone can be beneficial even if it automatically selects a good exposure for you.
Below, I’ve put together a few of the important reasons to experiment with the exposure setting.
1. Creative control:
By manually adjusting the exposure, you have more control over the look and feel of your photo. You can intentionally overexpose or underexpose the image to create a specific mood or achieve a desired artistic effect.
2. Balancing exposure:
In some situations, the automatic exposure might not accurately capture the lighting conditions in the way you want them. For example, if you’re photographing a backlit subject, the automatic exposure may result in a silhouette rather than a balanced exposure.
By adjusting the exposure manually, you can make sure that your subject is properly exposed while maintaining the desired background lighting.
3. Correcting exposure errors:
Sometimes, the automatic exposure might not accurately assess the lighting conditions and that can result in an overexposed or underexposed image. If you manually adjust the exposure, you can correct any exposure errors and make sure your photo reflects your intended vision.
4. Handling challenging lighting situations:
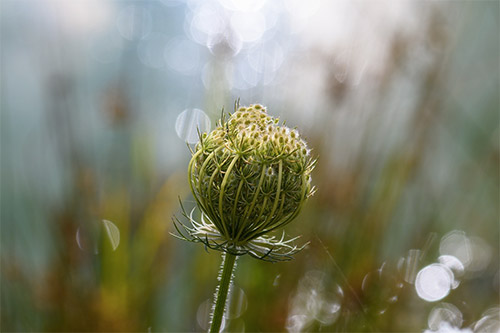
Certain lighting conditions, such as high contrast scenes or low-light environments, can pose challenges for automatic exposure.
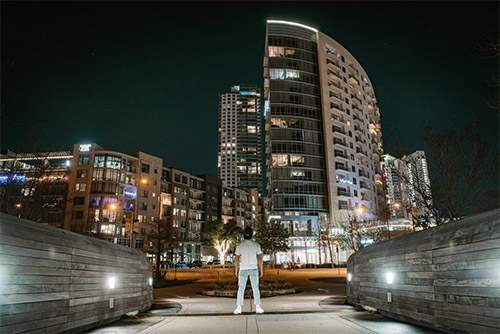
Challenging lighting is one of the trademarks of street photography especially. Some of my favourite images contain dark shadows, or ‘moody’ silhouettes.
If you manually adjust the exposure, you can better handle this type of situation and capture images in the way you envisioned them.
5. Consistency across multiple shots:
When shooting a series of photos, manually adjusting the exposure allows you to maintain consistent exposure settings throughout the sequence. This can be helpful when creating a photo series or when you want to ensure uniformity in your images.
Light changes all the time during the day. And, if you’re trying to produce a collection of images that you want to show together, even if it’s only on your living room wall. you’ll want the lighting to look even.
And, while automatic exposure will often produce good results, manually adjusting the exposure gives you more creative control and helps you achieve the desired outcome for your photographs.
It’s also worth experimenting with different exposure settings to see how they can enhance your images and bring your creative vision to life.
How to adjust the exposure
So, now you know why it’s a good idea, here’s a simple explanation of how to adjust the exposure on iOS and Android smartphones:
On iOS:
- Open the Camera app on your iPhone.
- Tap on the area of the screen where your subject is located. This will set the focus and exposure point.
- Once you tap, a yellow square or a sun icon will appear. This indicates the focus and exposure lock.
- To adjust the exposure, swipe up or down on the screen. Swiping up will make the image brighter, while swiping down will make it darker.
- As you swipe, you’ll see a sun icon with a slider appear. This represents the exposure adjustment level.
- Keep adjusting until you achieve the desired exposure for your image.
- Once you’re satisfied, you can take the photo as usual.
On Android:
- Open the Camera app on your Android phone.
- Tap on the area of the screen where your subject is located to set the focus and exposure point.
- Once you tap, you may see a slider or a sun icon appear, depending on your phone’s camera app.
- Look for an exposure adjustment slider. It may be a horizontal slider or a plus/minus icon.
- If you see a slider, slide it left or right to adjust the exposure. Moving it to the left will make the image darker, and moving it to the right will make it brighter.
- If you see a plus/minus icon, tap on the plus (+) icon to increase the exposure or tap on the minus (-) icon to decrease it.
- Keep adjusting until you achieve the desired exposure for your image.
- Once you’re satisfied, you can capture the photo as usual.
Final thoughts
Remember, the exact steps may vary slightly depending on the model and version of your smartphone. It’s always a good idea to explore your camera app’s settings and options to familiarise yourself with the exposure adjustment features available to you.
Give it a try and let me know how it goes 🙂
Steve
Featured image courtesy of Dzenina Lukac
The following photographers kindly provided imagery for this post: